
By Cecilia Martin


I lay an old towel on my table and place my frame
on that first to avoid any damage to the frame when working on it. Once a gallery frame has been selected the first
thing I do is drill a very small hole approximately 1/3 of the distance down,
on both sides of the frame back, and attach D rings as shown. I attach a length
of picture wire between D rings, threading a small 2” length of shrink wrap
(available at electronics stores such as Active Electronics) onto the wire
before twisting the wire through the D ring. The wire should be pulled fairly
tight. Once the wire has been twisted around itself slip these shrink wrap
lengths over the twisted wire. This prevents walls getting scratched as well as
looking neat. Remove backing board.

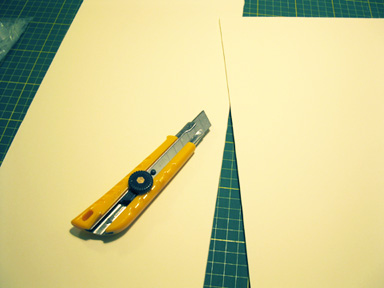
Cut a piece of acid free Foamcore board for your
backing the same size as your mounted artwork and frame.

Remove the lightweight plastic that came with the
frame and replace with 3mil acrylic (plexiglass) cut to size. I prefer to use
the plexi for shows, as it looks as good as glass and does not break as easily.
Many shows (such as the ASBA) will not accept glass. I am told that good
quality acrylic provides UV protection, and the price is comparable to glass. I
have kept artwork under this acrylic for about 7 years now and find no change
in the look of it, or damage to my artwork. However I don’t know how it would
look 50 years from now! If you are planning on keeping your artwork in the
“Gallery” frame once you have found a permanent home for it, by all means
change it to regular glass with UV protection Remove the blue plastic film from
either side of the acrylic.

I then like to give the frame and plexi a good
cleaning. For this I use a regular glass cleaner. There are special anti static
plexi cleaners, but these do sometimes leave a film on the plexi which could
damage your artwork. Make sure there are no streaks left. Hold it up to the
light to check.

I also use a can of “Dust Off” to blow away any
small pieces of dust left behind.
Insert your matted piece of artwork behind the
plexi, and check again for any specks of dust on the plexi or artwork.

Now insert your foamcore. The thickness of the
plexi and foamcore may be more than the original plastic and backing. If it’s
the same just go ahead and use your original backing with its’ own attachments.
However if there is too much thickness for that, I use glazing points to secure
this foamcore for the backing. The important thing is to get an acid free
backing behind your artwork.

Voila!! You’re done.
You have saved a lot of money in framing costs, and
your artwork is well protected. There is an initial investment in a cutting
board, sharp knife, straight edge, and a few other tools if you don’t already
have them, but once your artwork is framed this way it is acceptable for most
shows. If you want a special piece of artwork in a first class frame to go on
your living room wall, then you have the option of getting a professional
framer to do it, and spend some of the money you saved on doing your own
framing for shows!


